OK not MADNESS...
but lots and lots of fun!!!
I have been wanting to purchase a kiln for some time now.
I finally bit the bullet and bought one.
So HAPPY I did!
I really enjoy the process of playing with the clay...

Only working with pmc3 for now.
So easy.

My first projects were rings and links and little charms.
Perfect little components to incorporate into my jewelry designs.
And the perfect little project to get used to the clay.

Love working with texture sheets and stamps to create these gorgeous designs.
Interesting to see which ones ones work best and which designs don't work so well.
Working on trying to keep consistent pressure when rolling...
the guides are a MUST for me.

And now I have moved onto layering.
Makes me giddy to see these pieces come together.
For now I am working very basic...
using ready to go purchased templates and texture sheets...
working in very flat form.
But with practice I will become braver...
On my wish list:
cones
rings
sliders
designing my own texture sheets
designing my own rubber stamps
work with my letter stamps
try to free form sculpt/carve.
I love that this art form is so free...
the sky is the limit!!
If you are thinking of trying metal clay out...
please do...
I think you will love it!!
Please share with me what you might be working on.
I would love to see and cheer you on.
Here are a few sources that have been extremely helpful to me:


And my favorite supplies so far:

Roller and guides...
nice and sturdy...
create even thickness...
clean up easy.

Non-stick clay board...
plenty big in the 9 x 9 size...
perfect work surface.

Tuff cards...
love these little things...
I transfer my pieces to these as they wait to be put on the drying plate.
Also work really well to sandwich wetter clay...
(dried clay that has been maybe a little over re-hydrated)
use the guides to roll out to clay "paper"...
let set just a little then texture and let dry...
now it's ready to use with paper punches...
create little shapes to add to your thicker pieces!
LOVE this!!!

Yes it's a mug warmer...
what a handy little tool for drying your clay pieces...
super fast!
And so inexpensive!
Be careful because it does get hot (hotter than I expected anyways).

These Ultrafine 3M Sanding Sponges are slick!!!
Makes it so easy to polish up your dry clay...
LOVE these!!

This little brush is so nice for removing the sanding dust...
from your polished pieces...
from sanding pad...
from all the surfaces...
then all of that dust can be added to your slip pot for your "glue".

These little cutters are really easy to use...
press and done...
uniform circles!
I also have the squares and ovals...
like them too.


Texture plates, rubber stamps, templates and pick...
there are SOOOOO many shapes and sizes and textures..,
subtle and bold...
whichever you prefer...
Like I said earlier...
really enjoy seeing how this all comes together.

And this sweet little tumbler is awesome...
love the pretty finish it gives.
I use my dremel (or Remel if you are me and like to drive the men in your life crazy) for finishing,
inexpensive small needle files for cleaning the holes...
cool slip to keep the clay from sticking...
a small paint brush with water or slip to stick pieces together
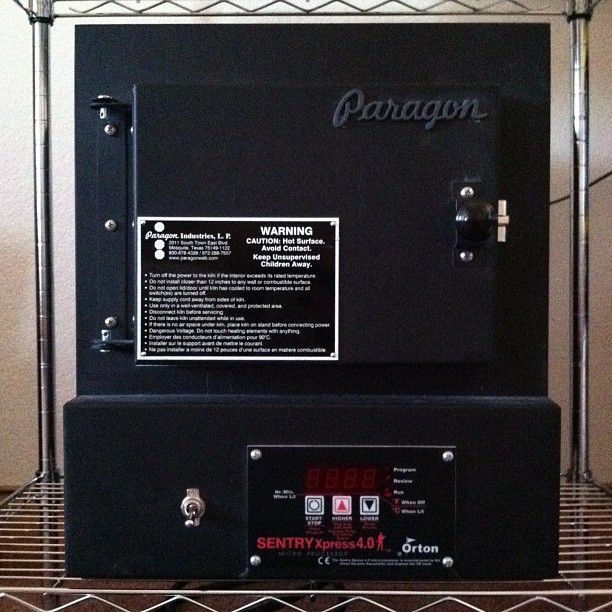
and my kiln is a Paragon SC2.
There are so many more supplies out there...
you could spend a fortune!
A FORTUNE!!
But it's so fun...
And you don't need to have every tool ever made...
start small and see what works best for you...
which parts of working with this clay you like best...
then you will know where to focus your funds.
I hope I have inspired you...
intrigued you...
something...
give it a shot and let me know how it goes.